January 13, 2013

Hometown Holiday!

Weekends are better for blog browsing so I decided to announce the new line of designs coming to LHN today instead of waiting any longer!  HOMETOWN HOLIDAY is a winter stitcher's playground of little buildings and scenes that you can make as dimensional objects or frame.  But then use your creativity once you see the designs and you decide how you wish to feature them.


This isn't a series like the sheep virtues or the three years of ornaments. . . . . this is a permanent addition to the Little House line of patterns which means it doesn't have an end until I simply decide I won't design any more.  I can't see that happening any time soon!

OK. . . .so the first one is called MY HOUSE.  It's a house (of course) and has an area for personalizing the design.  We've provided the alphabet.  As you will see in a few weeks time, the design was made into a stand-up cube using general craft foam.  I will be providing an online tutorial on the LHN web site for finishing.  It is sooooo easy!  Easier actually than all of the steps needed to finish the wool pillows for the sheep!  And there is NO sewing so anyone can do this.  This design will ship mid-February.

The second design is called MAIN STREET STATION.  See where this is going?  We're building a little town, one design at a time in cross stitches.  

The things you need to know . . . . . we won't publish in this line every month.  There will be gaps.   The second thing you need to know is that I do not recommend this for whole cloth stitching at this time.  Maybe a year down the road you could place some of the designs together and create your own scene but not at this time.  I am designing randomly to create this little town so pieces will be coming out here and there and may not "fit" together on one cloth.

I hope you will enjoy this new line of designs.  I am having a wonderful time designing and stitching them!

We are shipping the first sheep this week along with another full sized design.  We'll post photos of the other design soon!

Happy Stitching,
Diane


January 5, 2013

Woolly Sheep - A Craft Project!

These days my mind is just full of sheep related ideas.  I wonder why?  If you finish the Little Sheep Virtue pillows as I did, you will probably end up placing them in a basket, trencher, or something similar.  I am imagining mine laying on a bed of leafy greens and in the midst. . . . . .a woolly sheep!


When I first decided to create a dimensional sheep for the series I knew it would have to be easy enough for all of you to create without a pattern which is why it is so simple in design.  You can dress yours however you wish and modify it to your liking.

Gather your supplies: Two wool colors, 4 toothpicks, small amount of worsted weight yarn to cover the toothpicks, white glue, fiberfill, distressing agent and thread.

Let's begin.  Cut two pieces of wool for the body 3-1/2" x 5".  I used Weeks Wool in Snow Cream.


Next, place both pieces together and round all four corners with a sharp pair of scissors.


Cut one piece of dark wool, I used Weeks Chestnut in the Houndstooth pattern, 3-1/2" x 1-1/2" and another piece 2" x 1-1/2"


Fold the wide piece in half and cut a shape for the head.  I curved the top down and the bottom up.  Be sure to cut through the fold so that you are left with two matching pieces.  Take the second piece, fold it and cut two ears.


The wool looks grey/blue but it was brown.  Bad lighting!

Pin the head to the body pieces and sew in place with contrasting thread.  Just little running stitches will do.  Then pin the front to the back and begin sewing together with a blanket stitch.


Once you get to the bottom edge, stop.  You now need to make the legs.  I snipped off one pointed end of each toothpick before wrapping each with a spiral twist of the yarn.  When I reached the bottom I cut the yarn, dabbed it with white glue and twisted it onto the wrapped yarn, holding it in place for a minute so it would stick.


Put the unfinished end of the toothpick into the body, take a stitch, add the other leg, stitch the belly and repeat for the other two legs.  Stop and stuff the sheep lightly then continue closing it up with the blanket stitch.  


Once it is completely sewn, dab white glue to the legs where they meet the wool (pick one side to be the back).


Pinch each ear to crease then sew to the top of the head.


At this point I added a tricket to her rear and took her to the kitchen to add light distressing.  Both sides were sprayed with "Distress It" and left to dry.  

Simple and easy . . . . no pattern required. 


While I know my sheep won't win any blue ribbons, it's a fun little project and will add a bit of interest to your basket as you finish your sheep pillows.  

Have fun and happy stitching!

Diane


January 4, 2013

More Sheep!

I love stitching and designing sheep.  Quite a few LHN designs have featured them throughout the years.  
Wool Needlebook
The Counting House
Julia Flynn - Dear Diary


Curly Q Ewe


My Sheep

Winter Sheep

The Gathering Room

While you are waiting for the first Little Sheep Virtue to arrive, pull out one of these old patterns to keep you company!

Happy Stitching,
Diane

January 1, 2013

Hope - the first sheep virtue


Little Sheep Virtue - Hope

Happy New Year!!
I'm starting out January 1st with a photo of the first design in our new series.  When the new year arrives it is full of hopes, wishes and dreams so that is why I chose this as #1.  The wool for finishing on this design is Palomino Houndstooth and I cut it 6-1/2" square.  The design is sewn to the top with invisible thread then trimmed in ordinary twine.  I used invisible thread on that also.  Each of the sheep in the series will be finished in the same way and I plan to place them in a basket on display in my home.

Vonna started an SAL for those of you wishing to participate:Stitching The Flock

Happy Stitching,
Diane

December 21, 2012

The end of the year . . . . .

Just a note to let everyone know that we are taking time for family and setting most of the work load aside for a while as we head into Christmas and the New Year (which means we are closed!).  We hope you can do the same.  I have some baking planned and lots of cooking for Christmas Eve.  I'm sure you are all in the same mode I am.

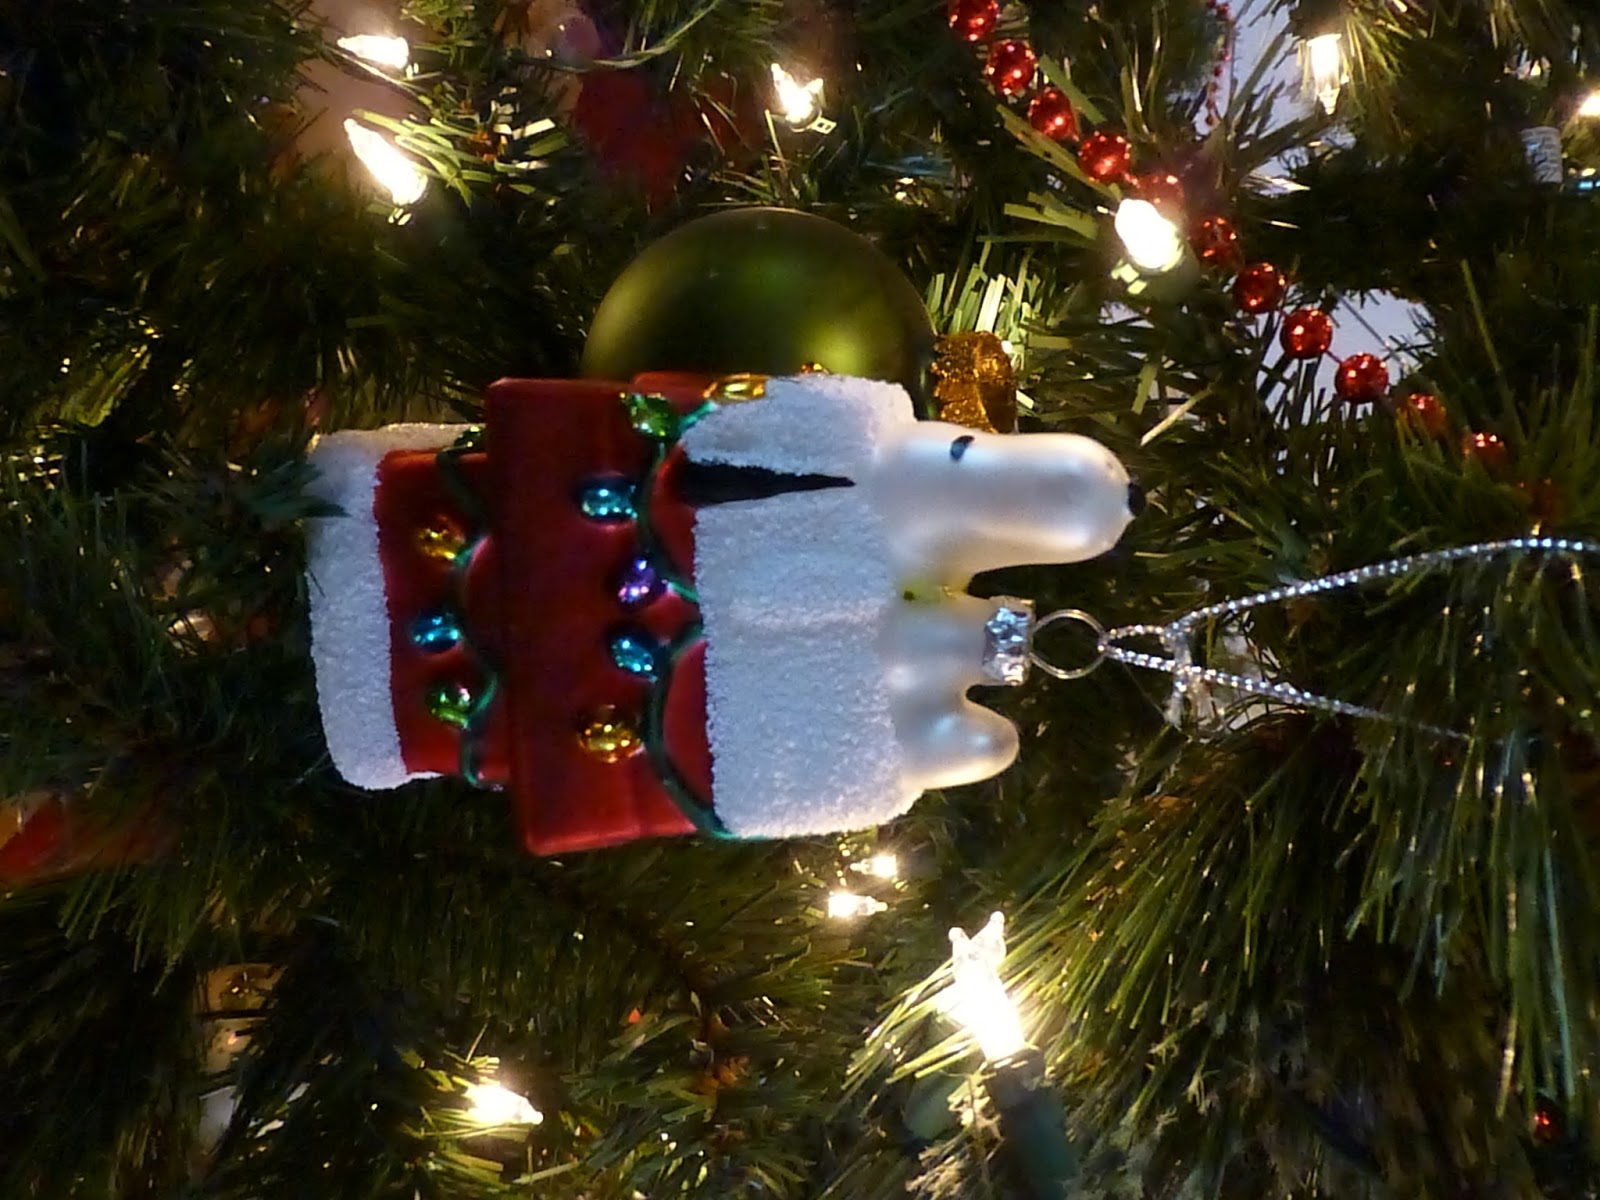
Anyone who knows me knows that the Peanuts gang are some of my favorite cartoon characters.  These fun ornaments are on our tree.  


Wishing you all a healthy and happy new year!
Ron and Diane

. . . . . and Gracie!

December 14, 2012

December 13, 2012

December patterns and some news. . . . . . .

The end of the year comes with a bit of sadness as the ornament series comes to a close.  However I have to say, that what is coming in 2013 is more exciting for me than ornaments.  Tomorrow we will give you a small peek at what is coming in January.  All I'll say today is that it is a series of twelve designs . . . . stitch one or stitch them all.  It will be your choice just like the ornaments.  The photo of the first design will go up right after the new year instead of mid-month like we usually do.

Saltbox Village
I saved the Saltbox Village ornament for last. . . . . . I love the red bow Vonna put on top for finishing.  Thank you all for stitching and falling in loving the ornament series.  Perhaps we'll do it again some day but I'm taking a break from them for now to design some other fun stitching projects.  :)

And the very last design this year is the reproduction by Mary Ann Myers dated 1827.  The birds!  Do you see all six of them???  I fell in love instantly when I saw this sampler.  So you may be asking why I chose gingham for a reproduction.  When I began to think about how I wished to present this design as a chart, I wanted to mimic the playfulness at the bottom of the design and add more interest to the lettering.  Marking samplers are awesome, but don't you think the gingham just sets the design off?  I'd like to think Mary Ann would approve.


In the pattern itself I discuss the Quaker leanings of this design.  It is American, from Pennsylvania but is not proven to be a Quaker.  I have identified the young girl through genealogy research which is included in the chart.  I'd love to hear opinions if you have any expertise in this area of identification.


The chart has a bit of over-one stitching.  If you are an aida stitcher this design would not be for you.


And a note of a more personal nature to share with you. . . . . . my step-father passed away on October 25th.  Many of you have come to know my mom over the years and know how she has helped to play a vital role in the business.  She has put stitching on hold for now but hopefully can get back to it some day down the road.  She has stitched some of my favorite designs like Thirteen Colonies and Elizabeth Hancock just to name a few.  I'm afraid her eyes are just not cooperating were her any more to do such fine work as the eye problems she is experiencing are very troublesome.  It makes those models she has stitched even more precious to me.

The year 2013 will be very special for us!  We will be celebrating ten years in self-publishing in September.  We plan on celebrating that marker with some fun give-aways throughout the year.  

Tune in tomorrow when we announce the first of two new series!  Did I say two?  Oops!  Another secret just slipped out of the bag!  

Diane

November 30, 2012

Pinterest

With the popularity of Pinterest on the rise, I wanted to share something with you.  The items that are pinned to boards are sometimes protected by copyright.  It has become a huge problem for designers in our industry that find themselves again on the front line battling to retain their copyrights and their jobs.

Personally I do not mind if you share Little House finishes and pattern covers.  Shops do it, bloggers do it, and I do it.

This first pin is perfectly ok with me.


The second photo shows what is NOT ok.  It is a clear violation of the copyright.  Before you pin a chart, look at it carefully to see if it says it is a free chart and can be distributed or if it has a copyright and maybe even a warning.  

The industry thanks you and I thank you for continuing to educate yourself and others in this matter.  And a HUGE thank-you to those who take their time to report the illegal pins to designers.

Happy Stitching,
Diane


November 25, 2012

Oldies but Goodies!

Just a few winter designs from the past.

Top Row: Snowflakes and Warm Winter Woolens
Middle Row: Gingerbread Trio and Be Merry, Belle Pepper
Bottom Row: The Angels Sang and Winter Wonderland

Something for everyone!

November 24, 2012

The Cubby

Most of you know my Pottery Barn Cubby.  I am still in love with it and change the little squares out with the seasons.  I put some ornaments in the cubbies before Thanksgiving and took a few photos.  Just like last year, if you look hard, you'll see the last ornament for 2012.  It won't be out for a while but it's a little peek.


It looks like my candy cane came off of my Peppermint Twist ornament!  It wasn't sewn on well and now I'll have to figure out a creative way to attach it.  The silhouette is of my dad when he was a boy.  It's a memento I cherish.

And my Boyd's Bears!  I have a lot of those but these are just some of the wintry ones.

Pottery Barn still carries the cubby so if you are interested you can order it online.  They are awesome for holding small stitching pieces.

Diane